Multilingual Angular 16
Here is a short quick-start-guide to create a new Angular 16 SPA with Material Design and multi-language support.
You need Node.js to install and build Angular.
Install the Angular CLI with the following commands:
npm i -g @angular/cli
Create the example SPA Teach:
ng new Teach
Start it:
cd Teach
ng serve
Open http://localhost:4200 with a browser.
Material Design
Add Angular Material Design:
ng add @angular/material
Replace the content of app.component.html with:
<mat-slide-toggle checked="true">Hello world!</mat-slide-toggle>
Edit the app.module.ts to include the component. Visit the Angular Material homepage to learn more about it.
import { MatSlideToggleModule } from '@angular/material/slide-toggle';

@NgModule({
  ...
  imports: [
    MatSlideToggleModule
  ]
  ...
})
export class AppModule { }
Localization
Internationalization or i18n in short.
ng add @angular/localize
Add i18n directive to the template app.component.html:
<mat-slide-toggle checked="true" i18n>Hello world!</mat-slide-toggle>
Here we are adding new locale German.
The index.html is not translated by Angular, use different index.html pages for each language.
Update angular.json.
{
  "projects": {
    "architect": {
      "build": {
        "builder": "@angular-devkit/build-angular:browser",
        "options": {
            "localize": true,
        },
        "configurations": {
            "de": {
              "index": {
                "input": "app/index.de.html",
                "output": "index.html"
              },
              "localize": ["de"]
            }
        }
      },
      "serve": {
        "builder": "@angular-devkit/build-angular:dev-server",
        "configurations": {
          "dev-de": {
            "browserTarget": "Teach:build:development,de"
          },
          "defaultConfiguration": "dev-de"
        }
      },
      "extract-i18n": {
        "builder": "@angular-devkit/build-angular:extract-i18n",
        "options": {
          "browserTarget": "Teach:build"
        }
      }
    },
    "i18n": {
      "sourceLocale": "en",
      "locales": {
        "de": {
          "baseHref": "",
          "translation": "./src/locale/messages.de.xlf"
        }
      }
    }
  }
}
Extract templates messages to src/locale/messages.xlf
ng extract-i18n --format=xlf2 --output-path src/locale
Make a copy of the src/locale/messages.xlf as src/locale/messages.de.xlf.
Edit src/locale/messages.de.xlf and add new line <target></target> below each <source>...</source> lines.
Start with a specific configuration to verify the result:
ng serve --configuration=dev-de
Build
The build stores the resulting files in dist folder. Containing the SPA in each language.
ng build
The files contains a hash-code in the name to mitigate caching problem. It doesn't help us when we use rewrite-function of the web-server as the hash-code is the same for each language.
Use a custom webpack-config to generate different hashes:
{
  "projects": {
    "architect": {
      "build": {
        "builder": "@angular-builders/custom-webpack:browser",
        "options": {
          "customWebpackConfig": {
            "path": "./webpack.config.js",
            "replaceDuplicatePlugins": true
          }
        },
        "configurations": {
          "en": {
            "localize": [ "en" ]
          },
          "de": {
            "localize": [ "de" ]
          }
        }
      }
    }
  }
}
Add webpack.config.js file:
module.exports = {
  optimization: {
    relContentHash: false
  }
}
Currently, the custom-webpack for Angular 16 is still in beta:
npm i --save-dev @angular-builders/custom-webpack@16.0.0-beta.0
Now we have to call build for each language separately or else the hash still stay the same:
ng build --configuration="production,en"
ng build --configuration="production,de" --delete-output-path=false
Anonymous Listener
Using SAM Single Abstract Method interfaces, creating implementation is realy easy with kotlin when you have an Java interface. Here I'm only interested in position value:
private val itemClickListener = OnItemClickListener { _, _, position, _ ->
  // do the onItemClick thing
}
But when you have a Kotlin interface it's getting verbose. The situtation is inconsistent, looks like Kotlin is still incomplete. Create an anonymoys object then override the single function:
@FunctionalInterface
interface OnPositiveClickListener {
  fun doPositiveClick(id: Long)
}

private val itemClickListener = object : OnPositiveClickListener {
  override fun doPositiveClick(id: Long) {
    // do the doPositiveClick thing
  }
}
For simplicity, use a workaround and declare the interface in Java instead of Kotlin:
// in .java file
public interface OnPositiveClickListener {
  void doPositiveClick(long id);
}

// in .kt kotlin
private val itemClickListener = OnPositiveClickListener {
  // do the doPositiveClick thing
}
Or don't use an inferface, use a functional interface instead:
fun interface OnPositiveClickListener {
  fun doPositiveClick(id: Long)
}

// in .kt kotlin
private val itemClickListener = OnPositiveClickListener {
  // do the doPositiveClick thing
}
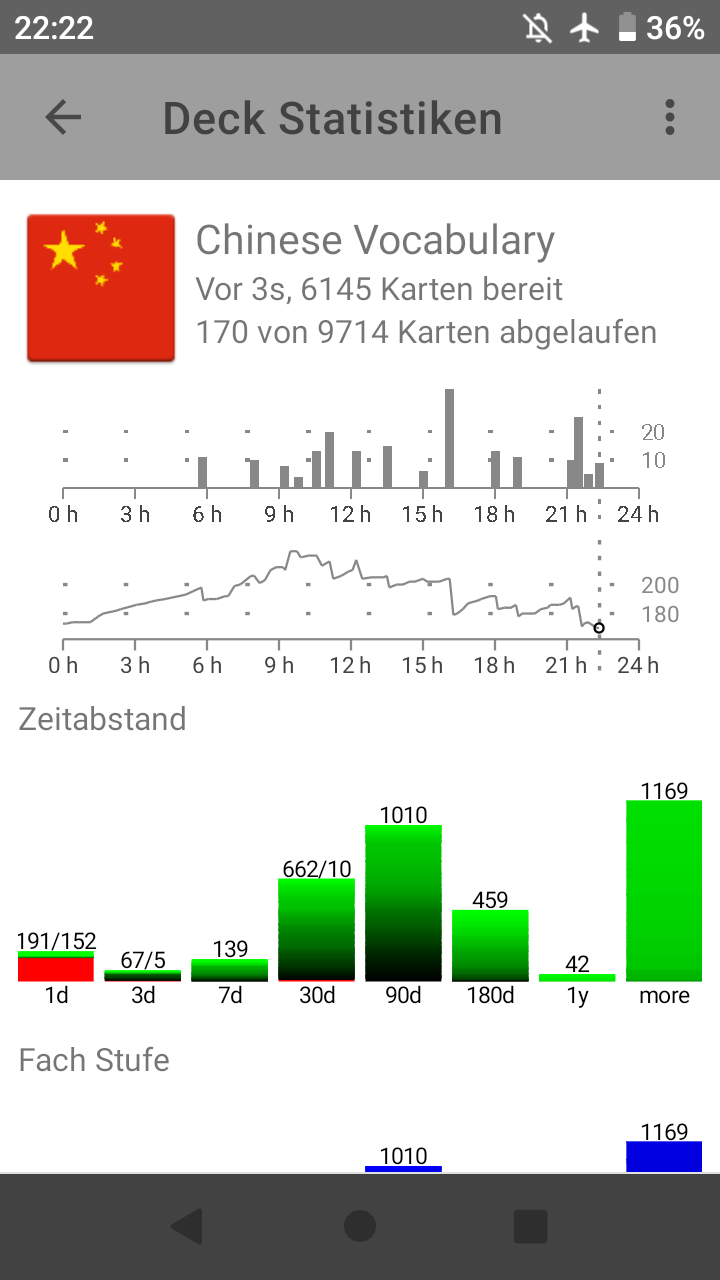
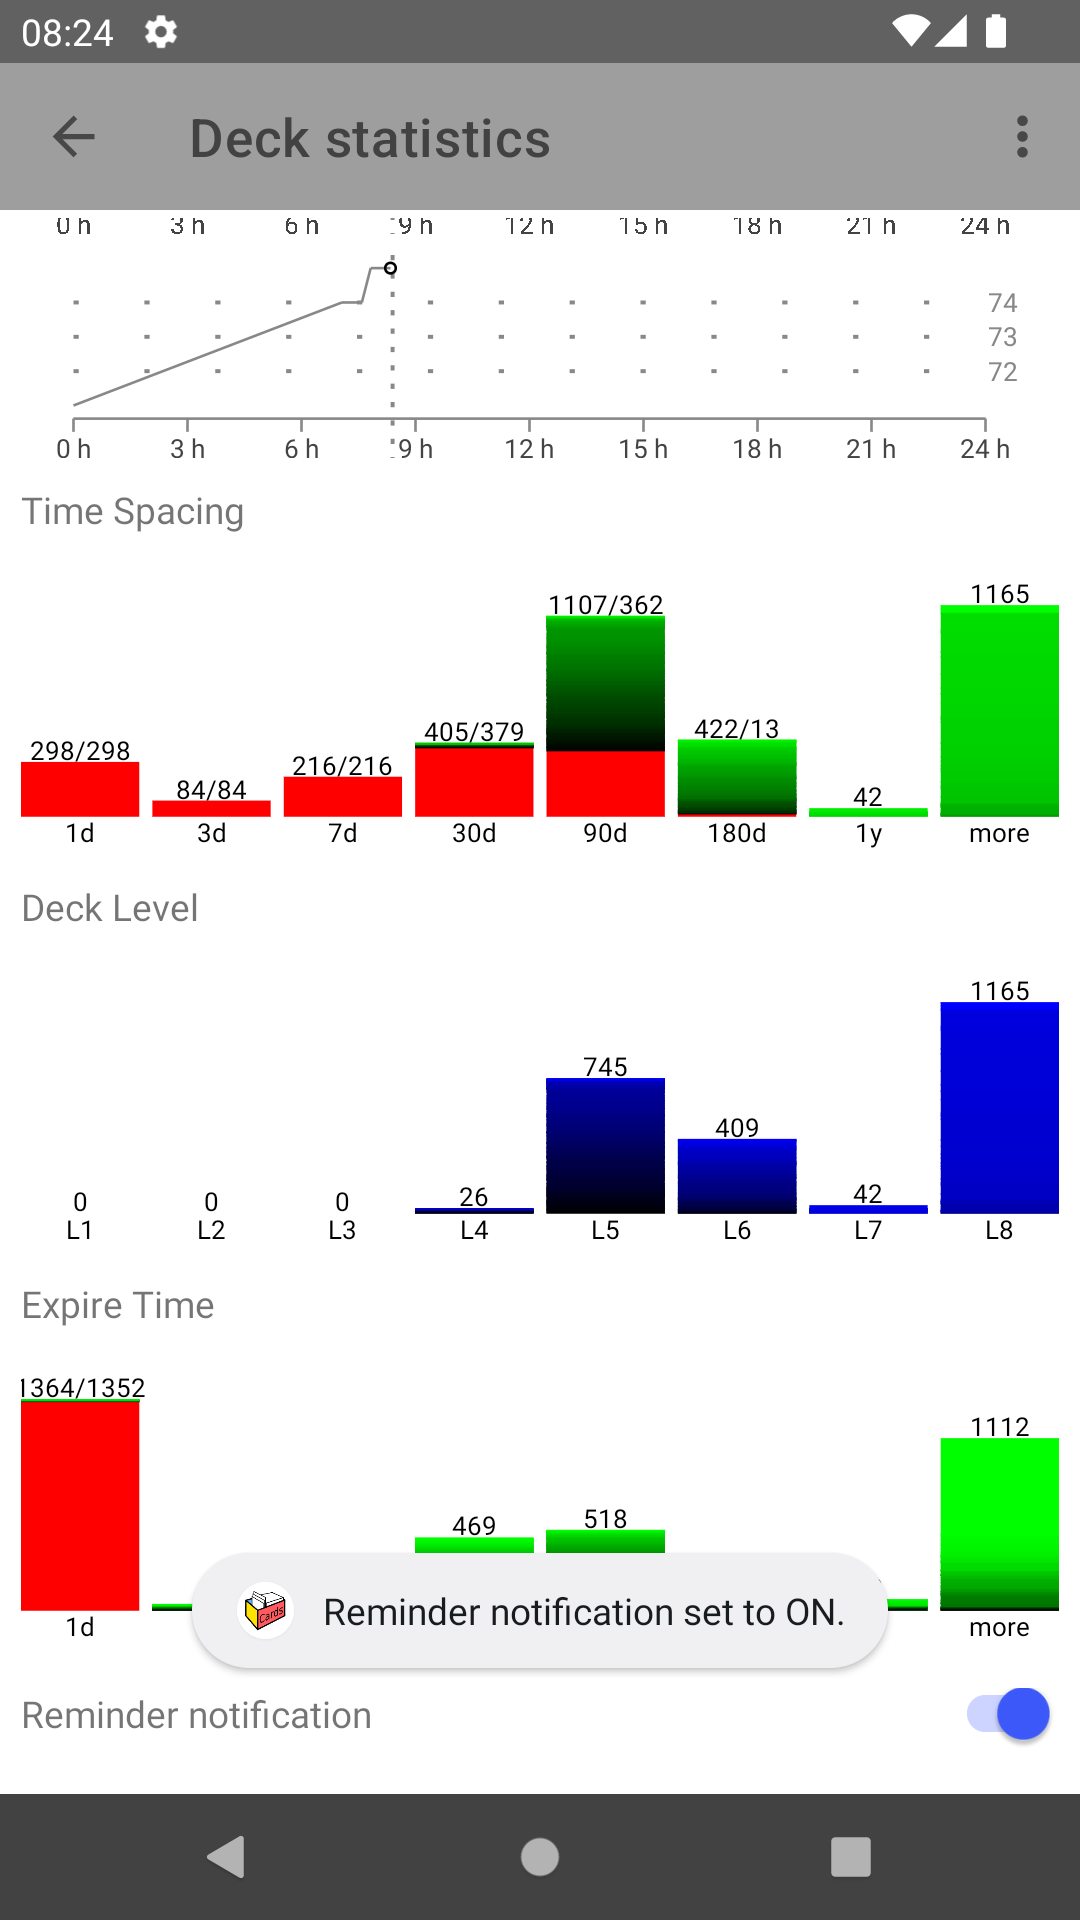
Wisecards Android App
Now it's in a state where I can add new experimental features:
CURL for Windows
Sometimes you are stuck on a Windows Server and want to execute a curl command to call a REST endpoint. There is an alternative for PowerShell Invoke-WebRequest or Invoke-RestMethod.
POST with Body:
Invoke-WebRequest -Headers @{"Authorization" = "Bearer F8977DS12FPQQMJD"} `
                  -ContentType "application/json" `
                  -Method POST `
                  -Body "module=trades" `
                  -Uri https://api.tea.ch/assets
GET
Invoke-WebRequest -Headers @{"Authorization" = "Bearer F8977DS12FPQQMJD"} `
                  -ContentType "application/json" `
                  -Method GET `
                  -Uri https://api.tea.ch/assets
In a single line:
Invoke-RestMethod -Method GET -Header @{"Authorization" = "Bearer F8977DS12FPQQMJD"} -ContentType "application/json" -uri "https://api.tea.ch/assets"
Hide a mat-tab in Angular
In Angular, hiding a mat-tab in a mat-tab-group is not straitforward. You cannot use [hidden]=isTabHidden or any other directive to remove the tab.
There is a workaround listed in the GitHub feature request 14227.
Here is the workaround that worked for me:
<mat-tab-group
  (selectedTabChange)="selectTab($event)"
  [selectedIndex]="activeTab"
  [ngClass]="{'hide-tab1': hideTab1Flag}">
  <mat-tab label="Tab0"></mat-tab>
  <mat-tab label="Tab1"></mat-tab>
  <mat-tab label="Tab2"></mat-tab>
</mat-tab-group>
The in the css file:
.hide-tab1 div.mat-tab-label:nth-child(2) {
  display: none;
}
Start a NuxtJS Project
I started rebuilding this website in January 2021 with NuxtJS. So far it the most pleasant to work with. It is a framework based on Vue.js allowing to use it with SSR (Server Side Rendering), go to the official documentation of NuxtJS at https://nuxtjs.org/
npm init nuxt-app teach
Here are my choices for the project:
- JavaScript
- No CSS framework
- Axios and Content NuxtJS modules because I intent to use them in the project.
- ESLint for some help checking my code.
- I know Jest and use it as testing framework.
- Universal SSR
- Server (Node.js hosting)
- jsconfig.json as it is recommended for VS Code
- No CI as this is a personal project
- Use git with repository on local network or usb-stick
Change Prism Theme
NuxtJS Content module uses Prism for syntax highlighting. The themes are located in node_modules/prismjs/themes.
I copy the prism-tomorrow.css to the assets folder. The change must be configured in nuxt.config.js:
export default {
  content: {
    markdown: {
      prism: {
        theme: 'assets/prism-tomorrow.css'
      }
    }
  }
}
.NET 5 Notes
With .NET 5 comes new C# 9.0 language features. To try it out I use the following dotnet commands:
dotnet new console -o Test1
cd Test1
dotnet build
dotnet run
C# 9.0
- No need for a
Main()inProgram.cs - Properties with setter only, using keyword
init - Use
newexpression without class name. - Check for not
nullwithis not null
using System;

var p1 = new Program("Hello World!");
Console.WriteLine(p1.Message);

Program p2 = new("new expression without class-name!");
if (p2 is not null)
{
  Console.WriteLine(p2.Message);
}

class Program
{
  public string Message { get; init; }

  public Program(string message)
  {
    this.Message = message;
  }
}
Add a Build Date
For some content that are only known at build time like the build-date. You can use the env property. In nuxt.config.js add:
const months = ['January', 'February', 'March', 'April', 'Mai', 'June',
  'July', 'August', 'September', 'October', 'November', 'December']
const now = new Date()
const today = `${now.getDate()} ${months[now.getMonth()]}, ${now.getFullYear()}`

export default {
  env: {
    buildDate: today
  }
}
In the page or component script:
  data() {
    return {
      buildDate: process.env.buildDate
    }
  }
And reference it in template:
<div>{{ buildDate }}</div>
Macbook Pro Retina late2012 with GTX 1080 eGPU Upgrade
I upgraded my 6 year old Macbook Pro 13" from 3DMark 11 gaming performance P721 to P9412 and play recent games with highest settings.
I recently was looking for a new notebook with Thunderbolt 3 to replace my late 2012 Macbook Pro 13 inch. I wanted to play some games but didn't want to buy a desktop PC. So it has to be a notebook with Thunderbolt 3 so I could attach an eGPU to the USB-C port.
During my research I found egpu.io where I could read about external GPUs that are available on the market. I also learned about Thunderbolt 3 to Thunderbolt 2/1 adapter. There were other Macbook Pro owners who succeeded to get eGPU to run with an adapter.
Chinese Steamed Eggs Recipe
One of my favorite dish that I can cook myself is Chinese Steamed Eggs its really easy to make.
Ingredients:
- 3 Eggs
- 250ml Water
- 1 Tablespoon Oil
- 1/4 Teaspoon Salt
- 1 Spring onion
- 1/2 Teaspoon light soy sauce